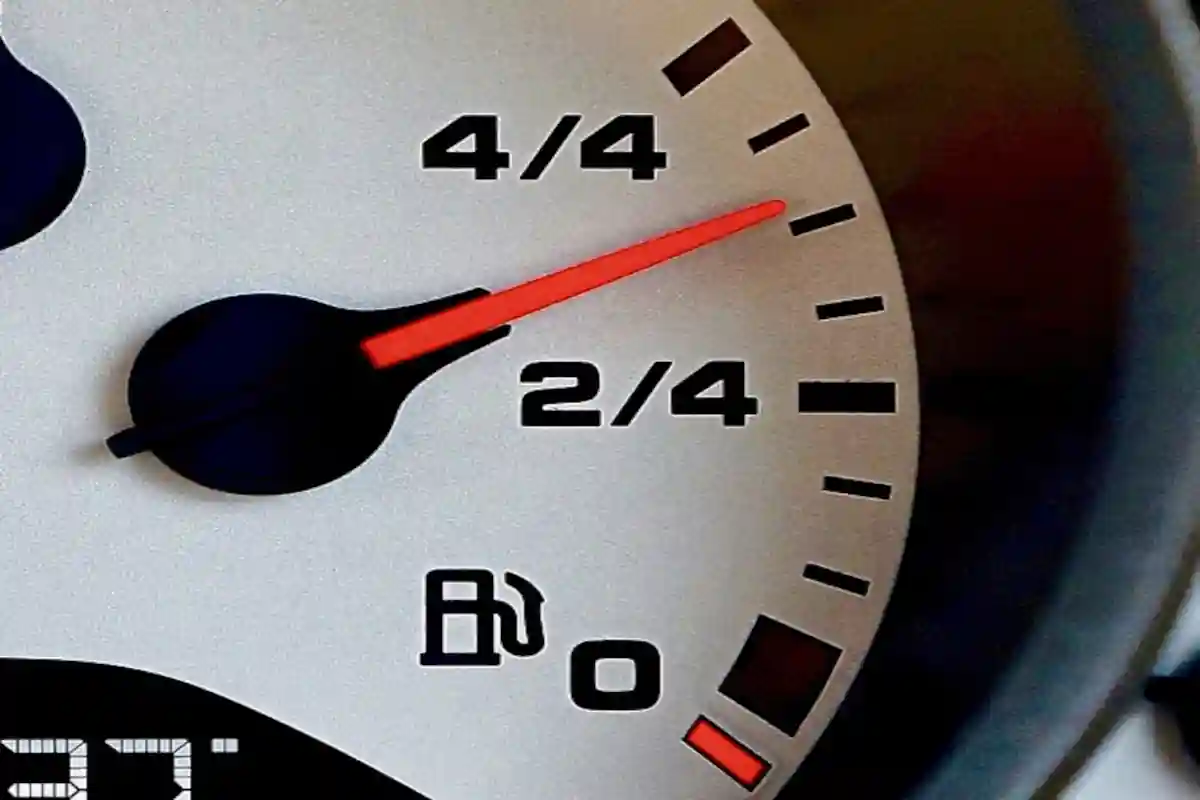
One of the most important instruments that most drivers regularly look at is the fuel gauge. That’s because the fuel gauge is responsible for telling you how much fuel you have left in the tank.
And you don’t want to end up not knowing how much fuel you have left because your fuel gauge is not working or is in need of calibration.
How do you calibrate a fuel gauge?
To calibrate a fuel gauge, you need to power on your gauge. From there, you need to put the gauge in calibration mode by pushing its button for about 10 seconds. Cycle through the ohm level range by clicking the button. Once you’ve reached your desired ohm range, hold the button for two seconds.
Calibrating a fuel gauge is important because you need to make sure that it is compatible with your fuel gauge sender, which is the most important part of the entire fuel gauge system.
As such, if you intend on using another fuel gauge or if you purchased a new fuel gauge sender, you need to make sure that your fuel gauge is calibrated to the right ohm level so that it will be compatible with the sender.
- Read More: How To Check Ohms On A Fuel Gauge? (7 Steps)
How do you know if your fuel gauge is not working?
Drivers would know for a fact that one of the instruments that they often look at is the fuel gauge. The reason is that the fuel gauge is the instrument that tells you how much fuel you have left in your tank.
Basically, it tells you how much longer you can drive before you run out of gas. This means that you have to make sure that you keep an eye on your fuel gauge so that it won’t go empty on you whenever you are driving on the road.
The fuel gauge’s purpose makes it a very important part of your entire instrument cluster because not having a fuel gauge means that you are basically flirting with the possibility of getting stuck on the road without any gas to help push your engine forward. In that case, your fuel gauge should always be working as it should, or else it will be extremely difficult for you to tell how much fuel you have left.
So, if you do have a fuel gauge that you believe isn’t working, how would you even know that it isn’t even working in the first place? After all, it can be tough to tell if your fuel gauge isn’t working if you have no other means to tell whether or not the fuel gauge is actually accurate.
In that regard, here are some of the signs you need to look out for to know whether or not your fuel gauge is working:
The gauge is behaving irregularly or erratically
Your fuel gauge should steadily move down as you are driving and as you are consuming fuel. This means that it shouldn’t be moving erratically. And what we mean by that is when your fuel gauge suddenly moves a quarter down from full just after 30 minutes of driving. This shouldn’t be something that is regular.
So, if your fuel gauge is moving erratically, this should be a sign that it is actually busted or faulty. It might even need replacement. But the fact of the matter is that this is the most common sign that your gauge isn’t working as it should.
The gauge is always at empty
People will panic if they see that the fuel gauge is empty or is nearing empty. In that regard, what they will immediately do is to take their cars to the nearest gas station to fill the tank up with fuel. When the tank fills up, the fuel gauge should steadily move back up again.
But if the gauge is always empty even if you know for certain that you have fuel in your tank and that the gas is more than enough, then it is obviously a fault on the part of the entire fuel gauge system and not on the fuel tank.
The gauge is always at full
Conversely, if your gauge is at full, you might be happy thinking that you have more than enough gas left in the tank.
But this thought can be dangerous because you wouldn’t know if your fuel tank is running empty or not because you would always believe that your gauge is full because the pointer is always pointing at full.
So, if the gauge is always at full even after you have driven an entire day’s worth of driving, then that could mean that the fuel gauge is actually busted. And you probably don’t know that your fuel tank is already nearing empty even if the gauge is always pointing at full.
How do you calibrate a fuel gauge?
Now that you know that the signs that point to the possibility that your fuel gauge is faulty or busted, one of the things you need to know is that this may be a fault on the part of your fuel gauge itself or on the fuel gauge sender found in the fuel tank.
The fuel gauge is obviously the instrument found on your dashboard and is responsible for showing you how much fuel you have left in the tank. Meanwhile, what you need to know is that the fuel gauge sender is actually the more important part of the entire system.
What makes the fuel gauge sender so important is that this is the component that is responsible for measuring how much fuel is left in the tank and then sending the data over to the instrument cluster so that the reading can be reflected on the fuel gauge on the dashboard.
So, if any of the abovementioned signs of a bad fuel gauge are present, then there is a good chance that the fault is due to the fuel gauge itself or on the fuel gauge sender. But, most of the time, the one that’s probably busted is the fuel gauge sender.
Nevertheless, when you are replacing the fuel gauge or the fuel gauge sender, what you need to know is that the gauge and the sending system need to be compatible with one another in terms of resistance or ohm level. But the good news here is that, even if you don’t have a fuel gauge that’s compatible with the fuel gauge sender (whichever of the two you replaced), you can calibrate the fuel gauge to make it compatible with the fuel gauge sender.
When calibrating the fuel gauge, here’s what you need to do:
- You first need to know the ohms preset range of your fuel gauge sender so that you can calibrate your fuel gauge to the right ohms. In most cases, it should be at 240 ohms at empty and 33 ohms at full. However, this will depend on the fuel gauge sender that you have.
- Power on your fuel gauge by connecting it to a power source.
- From there, take your fuel gauge and then press its button for about 10 to 12 seconds to start the calibration process.
- When the calibration process has begun, what you need to do next is to cycle through the ohm level range by clicking the button again. Each press of the button will allow the pointer on the fuel gauge to cycle through the different fuel levels.
- If you have reached your desired fuel level depending on the ohms of your fuel gauge sender, that is when you should press the button for a few seconds to calibrate your fuel gauge to that ohm level.
To know the corresponding ohm level range with respect to the fuel level on the gauge, here is a legend you need to follow:
- At an eighth of your fuel gauge, this reads 240 ohms at empty and 33 ohms at full.
- At ¼ of your, this reads 70 ohms at empty and 10 ohms at full.
- At 3/8 of your tank, this reads 0 ohms at empty and 30 ohms at full.
- At half of the tank, this reads 0 ohms at empty and 90 ohms at full.
- At 5/8 of your tank, this reads 10 ohms at empty and 180 ohms at full.
- At ¾ of your tank, this reads at 90 ohms at empty and 0 ohms at full.
- At 7/8s of your tank, this reads 16 ohms at empty and 158 ohms at full.
- A full tank is a manual calibration.
Can you reset your fuel gauge?
Conversely, you can also choose to reset your fuel gauge. To do so, you need to do the following steps:
- Turn your car’s ignition to the “on” position to turn its power on without turning the engine on.
- From there, press the odometer or trip meter button until the odometer is in “ODO” mode.
- Turn off the ignition.
- After that, press and then hold the odometer or trip button.
- Release the button.
After doing the abovementioned process, your fuel gauge will now be reset.
Below is an excellent video explaining how to calibrate your fuel level gauge to any fuel sensor
Sources
Everything What: How do you calibrate a fuel sending unit?
cashcarsbuyer.com: Fuel gauge reading incorrectly: Causes and Troubleshooting