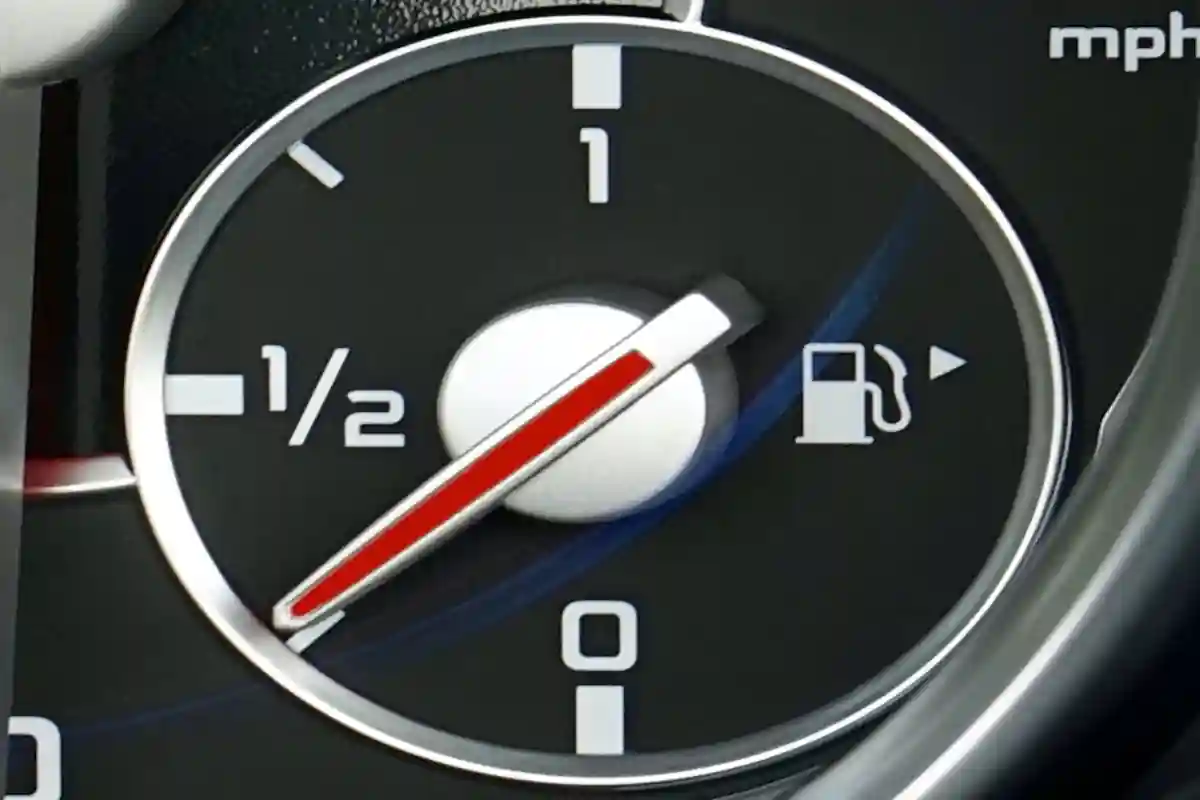
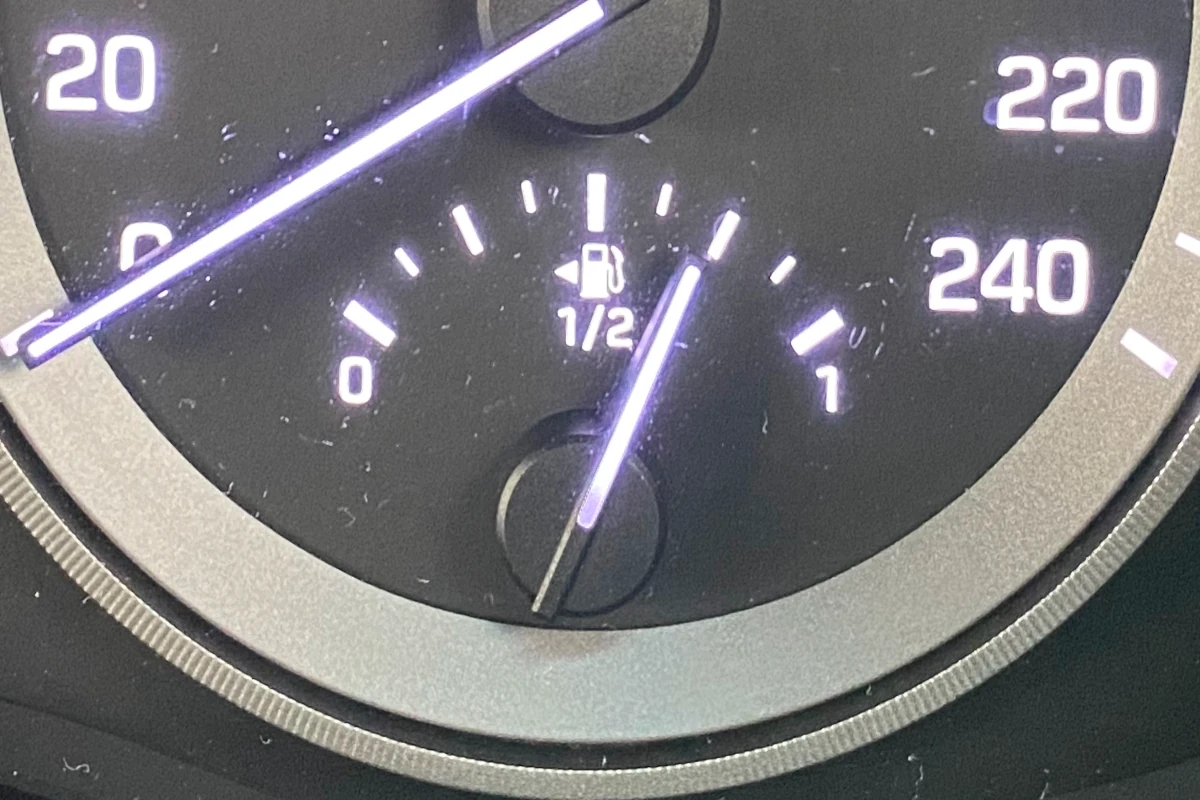
One of the things that you need to understand about the fuel gauge is that it works by using a sending unit or a fuel gauge sender that sends signals to the instrument panel so that the gauge can properly display the fuel level of your car.
The fuel gauge sender needs to be compatible with the fuel gauge in terms of ohms.
So, if there is a need to replace either your gauge or your sending unit, how do you check the ohms on a fuel gauge?
Check the ohms on a fuel gauge
Follow the car’s manual on how to remove the fuel sending unit from your car’s fuel tank. From there, what you need to do is to unplug the sender and then use a multimeter in ohms. Use the multimeter to check the ohms when the tank is empty and do so again when the tank is full.

Checking the ohms of a fuel gauge and the sending unit is important when it comes to replacing the fuel sending unit because the two must be compatible with one another in terms of ohms or resistance.
As such, it should be a good idea to check the ohms on a fuel gauge so that you will know whether or not you are replacing the fuel-sending unit with one that’s compatible with the fuel gauge itself.
Related:
- Why Is My Fuel Gauge Going Crazy? (3 Obvious Symptoms)
- Can You Drive With A Broken Gas Gauge? (Any Damage Done?)
- How Do I Find The Fuel Gauge Fuse? (Explained)
What is a fuel gauge sender and how does it work?

When it comes to your car, one of the instruments that we often look at is the fuel gauge because of how we need to make sure that we have enough fuel left in the tank whenever we are driving.
Naturally, when our tank is close to empty as seen on the fuel gauge, we have to fill it up in the nearest gasoline station. That’s because you don’t want to end up stuck on the road because your tank has gone empty.
That said, the reason why you are able to know how much gas you have left in the tank is not solely due to the gauge you see on the instrument panel or dashboard because that is merely the face of the entire system.
Instead, you have to thank the fuel gauge sender that’s located in the fuel tank because this is the component that’s responsible for measuring how much fuel you have left and for sending the signal over to the fuel gauge so that the fuel gauge can show you the reading.
The fuel sending unit or fuel gauge sender is a potentiometer that is located inside the car’s fuel tank. This sending unit makes use of a float that is usually made using foam. The same float is connected to a metal rod, which is mounted to a variable resistor on one of its ends. This resistor is an electrical device that is capable of resisting the flow of electricity such that, when there is more resistance, there will be less current that is flowing.
What happens in the fuel tank is that the variable resistor consists of a strip of resistive material that’s connected to the ground.
From there, a wiper in the gauge slides along this material so that there will be a current that’s conducted from the gauge and the resistor. So, if the wiper is close to the grounded side of the strip, what happens is that the resistive material in the path of the current will be less, and that means that the resistance is small. And if the wiper is at the other end of the strip, there will be more resistive material in the path of the current, and this leads to a larger resistance.
Meanwhile, in the sending unit, the fuel in the tank needs to drop to a certain level so that the float will begin to drop. When the float is near the top of the tank, the wiper on the variable resistor will now be close to the negative side, and that would mean that there will be a smaller resistance due to the larger amount of current passing from the sending unit all the way to the fuel gauge on your dashboard.
Conversely, when the level in the fuel tank drops, that is when the float will sink, and then the wiper will move such that the resistance increases and the amount of current sent back to the gauge decreases in turn.
How the sending unit works with the fuel gauge
Now that you know a bit about what the sending unit is and how it works, let’s now look at how it works together with the fuel gauge.
Basically speaking, the fuel sending unit and the fuel gauge need to be compatible in terms of ohms or electrical resistance so that they can work together.
The fuel gauge is actually a very simple device that simply works through the electrical current that is sent over to it by the fuel sending unit. This current passes through the resistor that is wrapped around a conductive strip.
Meanwhile, this strip is then connected to the needle of the fuel gauge so that it would move around depending on the current that it receives.
What happens here is that, when the resistance in the fuel sending unit increases, that means that the current that passes over to the fuel gauge decreases due to how the ohms is now higher. As such, the conductive strip will cool, which would lead to it straightening out and then pulling the gauge closer to empty.
The conductive strip we are talking about is actually made of two metals that are specifically chosen depending on their rate of expansion and contraction because the expansion and contraction of this strip are what will allow the needle on the fuel gauge to move.
So, basically, when the conductive bimetallic strip is cool, it will straighten out. When it is heated, it will curve.
This strip will cool when the current sent to it is lower due to higher resistance in the sending unit. Conversely, when the sending unit has lower resistance, the current sent over to the strip will be higher and will heat it.
How do you check ohms on a fuel gauge?
Now that you know how the fuel gauge sending unit works in conjunction with the fuel gauge itself, let’s now look at how to check the ohms or resistance on the fuel gauge sender because this will be important if we want to replace the sending unit in case it breaks down in the future. Basically, because the sending unit and the fuel gauge are compatible, the ohms on the sending unit will be the same as the ohms in the fuel gauge.
Here’s how you check the ohms on a fuel gauge:
- To start, what you need to do is to consult your manual on how to remove the fuel sending unit in your fuel tank. The way this is done will depend on what your car model is. That’s why it is best to consult the manual.
- From there, disconnect the fuel sending unit’s plug.
- Set your multimeter to ohms because this will be how we will be measuring your fuel gauge.
- If the fuel sending unit is grounded through the fuel tank, what you need to do is to connect one lead of the multimeter to the sender wire and the other lead to the body of the sender. But if the fuel gauge sender is not grounded through the fuel tank, what you need to do is to connect one lead of the multimeter to the sender wire and the other lead to the ground wire of the sender.
- This is where it becomes tricky because, before you started things off, you needed to empty out your fuel tank. That’s because you have to measure the resistance level on the fuel gauge sender when the fuel tank is empty. You can manually empty the fuel tank by siphoning the fuel out of the tank.
- Meanwhile, it is also important that you have enough money to actually fill the entire tank up. That’s because you need to measure the resistance level of the fuel gauge sender when the fuel tank is full as well. As long as you have enough money for gas, this should be easier to do than emptying the tank up.
- Note the resistance range reading on your multimeter when the tank was both empty and full. You now have the ohms or the resistance of your fuel sending unit.
How many ohms should a fuel gauge have?
At this point, you already know the ohms of your fuel sending unit and your fuel gauge because the two have to be compatible with one another. However, how many ohms should your fuel gauge actually have?
Well, for starters, this is a question with no definite answer because it really depends on your car and on the reading on your multimeter. That means that the resistance level will depend on one car to another.
However, the industry standard is that the ohms of your fuel gauge should be at 240 when your fuel tank is empty. Meanwhile, when the tank is full, the ohms should be at 33.5.
Again, this is merely the industry standard that most vehicles today have but this isn’t exactly how many ohms your fuel gauge should have because it really depends on the make and model of your car.
Sources
Delphi Auto Parts: How to test and replace fuel sending unit
It Still Runs: Troubleshoot fuel gauge
Summit Racing: How do I measure the resistance range of my fuel level sender


